To ensure enquiries are converted into confirmed bookings, you should check Events regularly.
Acknowledging Enquiries
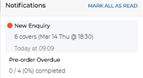
New enquiries are highlighted in grey with a red warning icon as shown:

As soon as an enquiry is opened, the highlight and the red icon are removed. This signifies to other host users at site that the enquiry is being dealt with. If you open an enquiry, but are not able to accept it immediately, the enquiry can be unacknowledged so that the highlight and the warning icon is retained.
Host users can also filter enquiries by their acknowledge status.
Reacting to New Enquiries
When a new enquiry is generated by the guest, a notification is sent and the notifications counter is incremented by one.

From the Notifications Icon drop-down, you can select the notification to open the booking details panel.
Enquiries created by the host do not generate notifications.
Notifications are listed in order that the notification is generated, not by booking arrival date.
The Dashboard also displays all new bookings in the Enquiries panel, and you can select each guest’s enquiry to open up the booking details panel.
You can also access enquiries directly from the Enquiries screen in the same way.

Enquiries are ordered by booking arrival date/time in the Dashboard Enquiries panel and on the Enquiries screen, not by the date the enquiry was made.
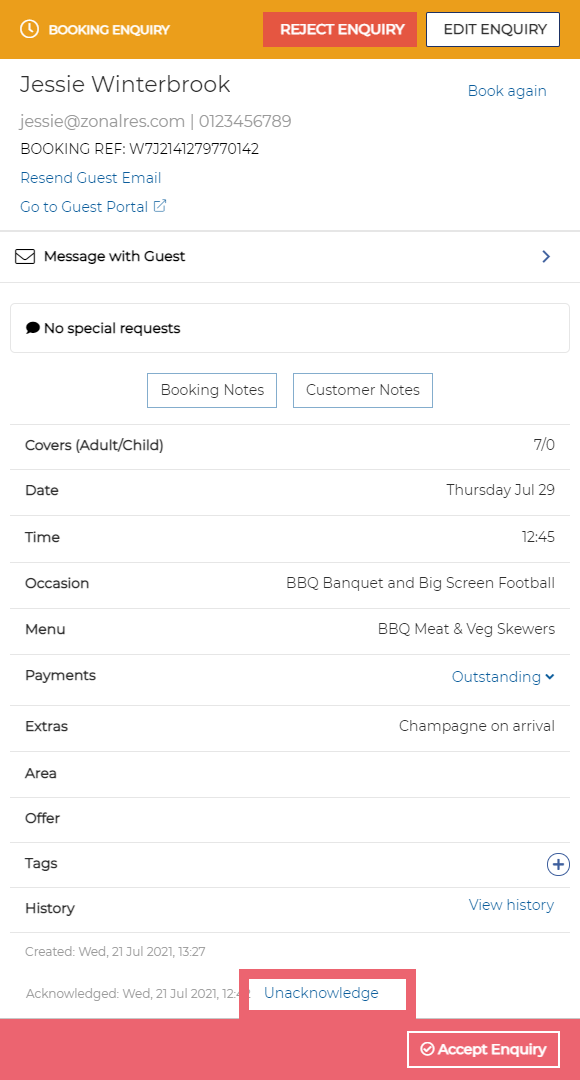
The creation date of the enquiry/booking is displayed at the bottom of this window.
The Booking Enquiry panel shows all the booking details as requested by the guest in order to allow the Host to make an informed decision about the feasibility of accommodating that booking.
If you need to make contact with the guest before confirming the booking, you can send them an email message, contact them by telephone or send them a direct message.
If the guest has specific requirements you can add tags to the booking to make sure your guest’s needs are accommodated. For more information about adding tags.
You can also edit the booking from this screen.
When you are happy that you can accept the enquiry, select Accept Enquiry to finalise this booking. Confirming the booking will generate an email informing the guest that their booking has been accepted.
If the booking specifies a menu with a deposit requirement, the booking will be provisional until the deposit is paid. If there is no deposit requirement for that booking, it will become a Confirmed Booking immediately.
If you are unable to accommodate the Enquiry, there is the option to select Reject Enquiry. Once this has been selected, a pop up appears with a drop-down list of configured rejections reasons. This is a mandatory step in order to reject an enquiry.
The internal rejection reason will be included in the Reservations log report as the cancellation reason for any enquiries that have been rejected.
Communicating With Guests
If you need to contact the customer for further information, you can email, telephone and/or send them a direct message from within Events. More information on messaging a guest can be found here.
If you telephone the customer, we recommend following up the call with a confirmation email or a direct message from within Events.
Checking Table Availability and Assigning Events to a Table
If you are integrated with Tables and the Auto-Assign functionality is enabled, bookings will automatically assign tables in your site. If the enquiry cannot be accommodated initially, a Shuffle may be able to re-organise table assignments to help accommodate the booking. Alternatively, manually adjusting table assignments may accommodate the enquiry in order to accept the booking.
It is possible to request an Area that has been configured within Events. Areas in Events are not currently linked to Areas in Tables, so this must be managed manually in Tables to confirm with the guest if their preference can be accommodated.
Adding tags helps you to optimise the customer experience. For example, when preparing for the booking, a tag could alert you to the fact that the guest needs a highchair so that one could be ready at the customer’s table.
You can use existing tags or create new ones unique to each requirement.
For detailed steps on adding tags click here.
Events allows users to add booking notes and customer notes to an enquiry or a booking.
Booking Notes: Booking notes allow you to record key information about an individual booking. Any information you enter as a booking note only relates to this booking and will not be shown on subsequent bookings.
Customer Notes: Customer notes allow you to record customer-related information not specific to the booking. Customer notes are displayed on every booking made by that customer.
Booking and Customer Notes created in Events are automatically associated with the booking in Tables. Any changes made to a note in Tables or Events will be updated in both applications automatically.
Searching for Bookings and Enquiries
To find a specific booking or enquiry:
-
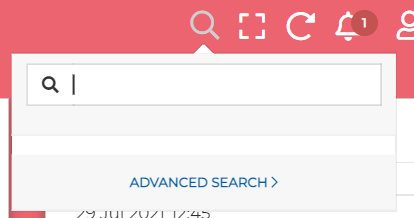
Select the Search icon.
-
Enter your search term and press Enter on the keypad.
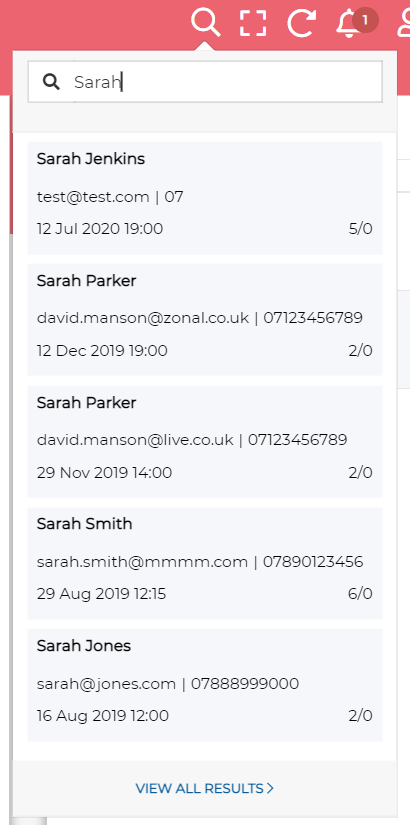
Events will compare your search term against the First Name, Last Name, Company Name, Email, Telephone and Booking Reference fields looking for a match.
The top 5 results matching your search term are displayed, showing all future bookings first, followed by historical bookings:
-
Select View All Results to see all additional relevant bookings/enquiries in the Advanced Search window.
-
Select the booking/enquiry you want to view.
The Booking details screen will be displayed.
Advanced Search
If after selecting the Search button you select the Advanced Search link you can search on specific fields by entering a name, email address, telephone number or booking reference into the appropriate fields and selecting Search.
The results page displays all bookings and enquiries that match the search term.
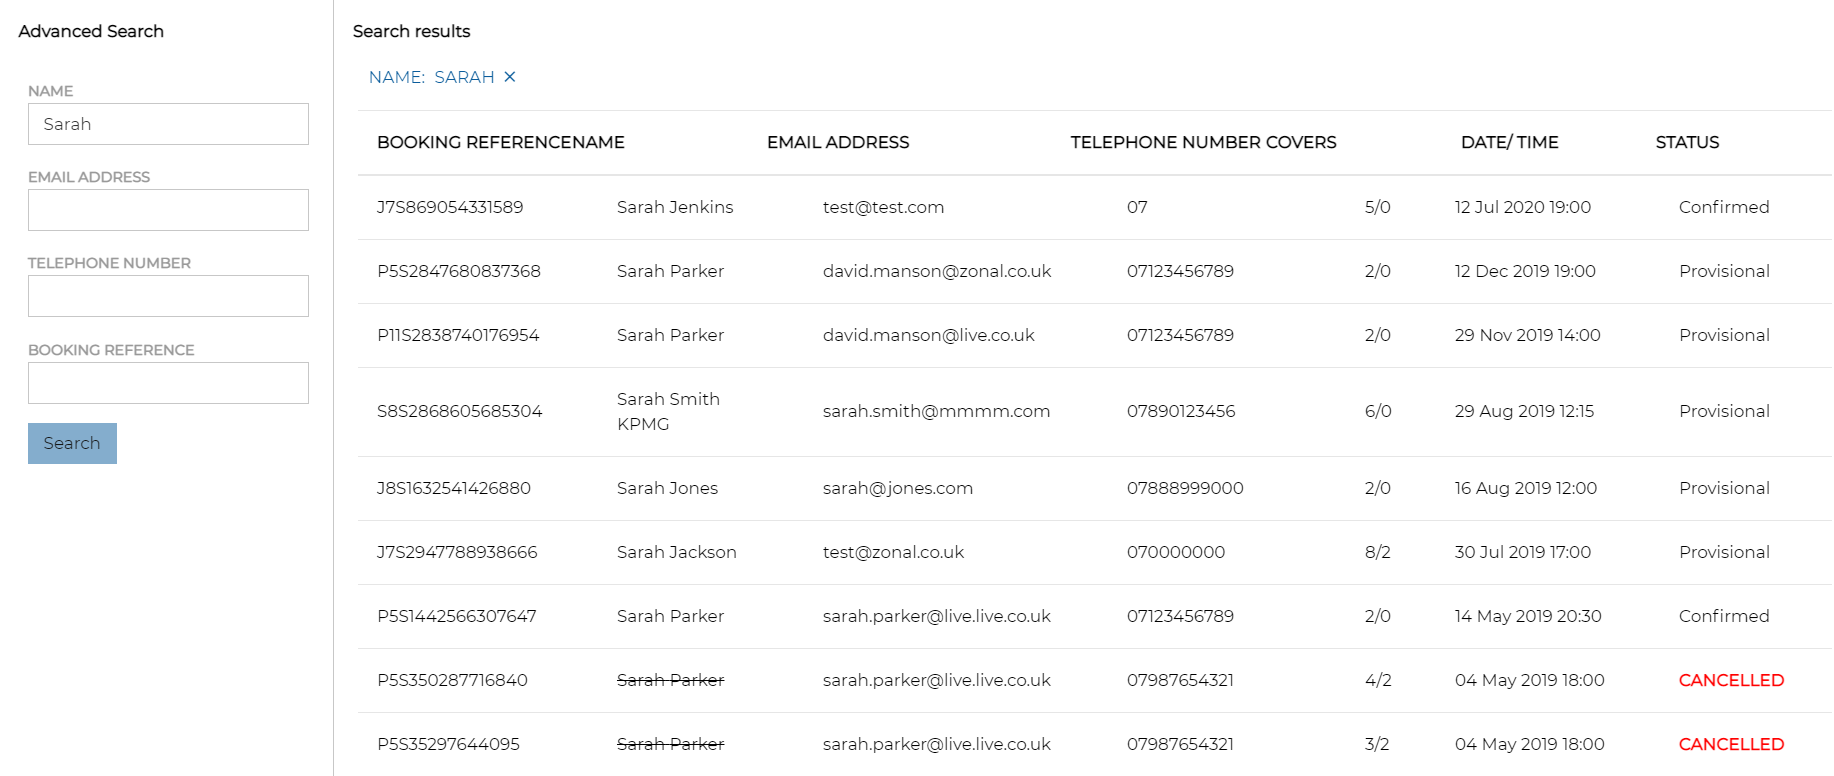
To navigate away from the Advanced Search window, select one of the links in the header.
You can also search for bookings by selecting the day of the booking on the date ribbon and locating the name of the guest in the list. The relevant booking details will be displayed.
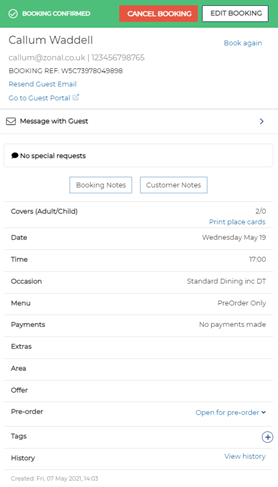
Viewing Booking Payments
When you select a booking name, more information about that booking is displayed, showing all payments made against a booking, as well as any deposit, pre-order or pre-payment requirements, if there are any.. This shows in the Payments section of the booking details.
When no payments are yet made against a booking, ‘No payments made’ will be shown in Payments section.
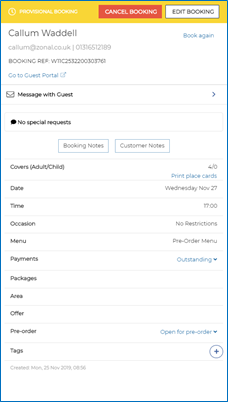
When something has been paid or there are any deposit, pre-order or pre-payment requirements, Payments section will contain Outstanding link. This link allows you to view Payments details as a drop-down.
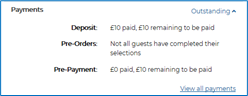
The View all payments link allows you to see what has been paid against an Event. When you select View all Payments a pop-up screen opens to show all transactions on the account:
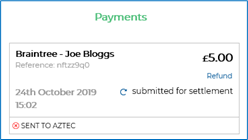
When the Braintree payments gateway is enabled, a Refresh icon may be shown. This allows you to update some statuses of payments. For example if the status shows Submitted for Settlement, selecting Refresh will update the payment status to Settled if the payment has been processed.
The Refresh option is not part of the payment process and is not a required step, it only visually updates the status on this screen.
Events supports 3D Secure payments for all Braintree payments made through the Guest Portal
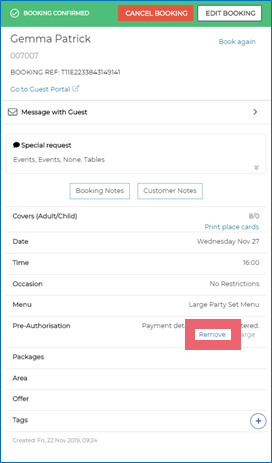
Charging an Organiser for a Missed Booking / Removing Payment Details
If a booking ends up as a no-show, the host can choose to charge the organiser using the payment details provided at the time of booking.
Alternatively, the host can remove the payment details if they are satisfied that the guest attended the booking, or that sufficient mitigating circumstances exist to warrant not charging the guest for the missed booking.
Payment details are removed automatically after 24 hours of the booking so that payment details are not retained unnecessarily.
To charge an organiser or remove the payment details:
-
Select the booking from the Bookings window or via the Search function.
-
Select Charge to take a payment.
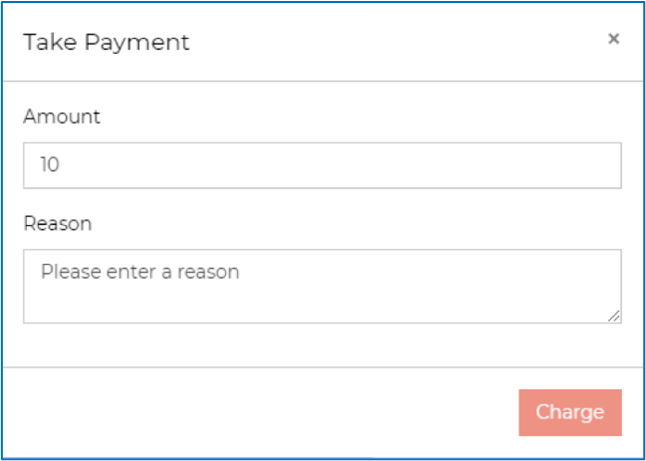
The default amount is set to the total deposit value of the booking as defined for the menus chosen at time of booking. Users can update this amount as appropriate before applying the charge.
-
Enter the payment amount and a reason for the charge in the box provided and select Charge.
or
-
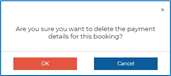
Select Remove to clear the payment details from Events.
You are prompted to select OK to confirm or to cancel.
Refunds
You can also refund Braintree payments from the View Payments screen and mark non-Braintree payments as having been refunded The Refund link is available under the amount paid.
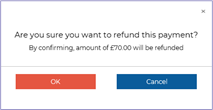
Select Refund and OK to confirm the refund.
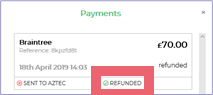
The section for that payment will now show as successfully refunded with a green tick.
When integrated with Braintree, this link sends a refund from Braintree to the guest.
If the payment was made by any other means or if your payment gateway is not Braintree, the Refund option will not return any money to the guest so you need to process a refund manually.
Once refunded, the booking status will return to provisional if the total of any remaining payments falls below the required deposit. This will also update any other integrated Zonal products ( Reservations, Tables and Aztec).
It is possible to refund past bookings and cancelled bookings.
If automatic refunds have been enabled (Braintree integrated sites only), when a booking is cancelled, the refund is issued automatically.
Editing and Managing Enquiries
If a booking was recorded as an enquiry due to insufficient capacity, the host can check the booking screen to ascertain whether their restaurant can handle the event. Alternatively, Tables users can open Tables to check whether a booking can be seated correctly.
Filtering Your Enquiries
You can filter the list of enquiries by selecting the Filter icon and choosing one or more of the available filters. This allows hosts to identify the enquiries that require further action for any one particular day quickly and easily.#